
The difference between a white head and a blackhead is simply whether or not the pores are open or closed. If the pore is open, the plug of sebum/skin cells oxidizes as it is in contact with the oxygen in the air, which turns it black. Dirt does not cause blackheads.
Let’s make that clear from the beginning. It’s a fact that obsessive scrubbing of your face can result in a drier skin and will create more oil to compensate for everything you stripped away. It’s a vicious cycle; besides, it won’t free you of getting blackheads.
Anyway, I love the satisfaction of beauty or skincare products that give you visible and instant results and therefore, the obvious evidence of a product doing its job is what prompts the interest and cult obsession with the famous pore strips.
But the downside: they can cost you an arm and a leg quick. This is the truth about commercial beauty products, and if you’re like me, the post-strip gratification has always been worth the money, if you ask me.
Homemade Pore Strips
I saw multiple beauty-bloggers posting recipes for the DIY pore strips on how to remove blackheads on the nose. This homemade blackhead removal mask can replicate the pore-cleansing action of Sexy Look product (which is very popular in Asia).
The idea is a genius and addicting routine (you can slap one on your nose, and you’ll know what I’m talking about).
Though my skepticism had kept me from trying this DIY blackhead removal I mean, can they be better than the real thing?
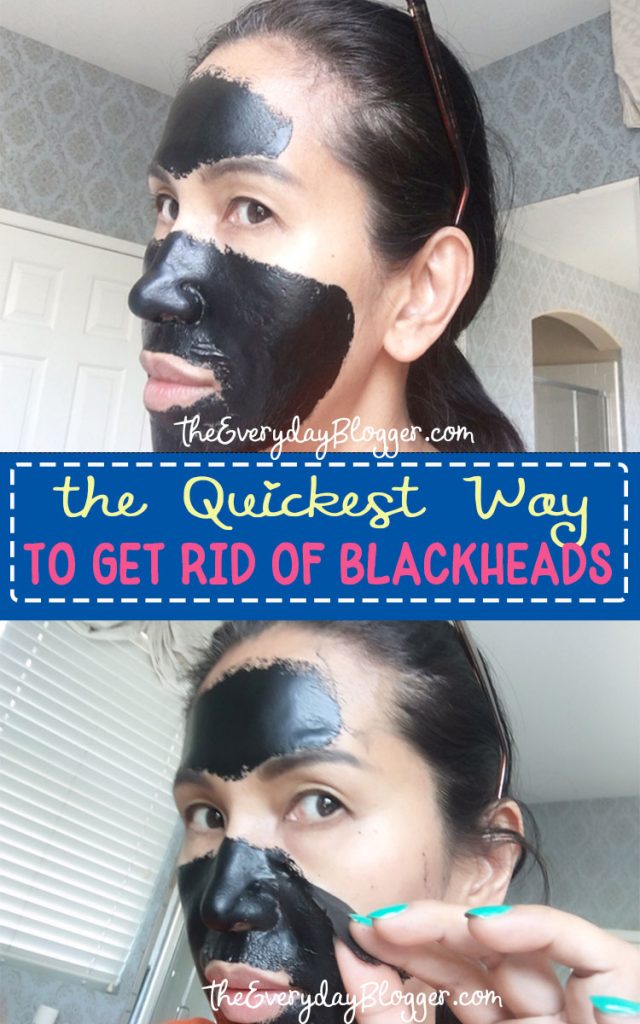
I was determined to put it to the test and as a regular person and for the sake of experimentation, I decided to apply this mask all over my face.
This version of the blackhead removal pore strip/mask gets big thumbs up for being economical and incredibly convenient.
How To Get Rid Of Blackheads On Nose
You’ll Need :
- Elmer’s glue
- Activated black charcoal capsule ( you can get this at Amazon.com or any drugstores)
More Reads:
Directions :
① Put some Elmer’s glue in a bowl, (you can adjust the amount depending on what area you’ll be using). I used it on my whole face, so I added 2 tbsp of Elmer’s glue.

② Now, you can open up your activated charcoal capsules – I used three of them.
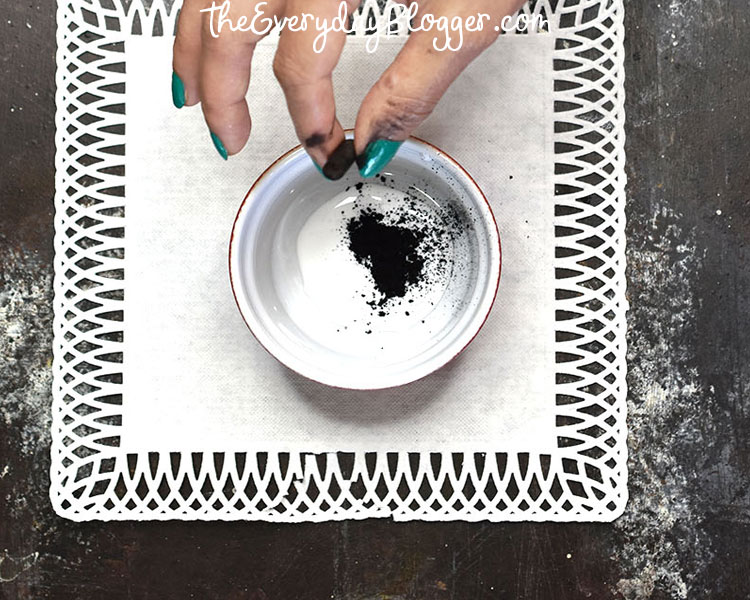
③ Use a wooden stirrer or a spoon and mix the mixture thoroughly.

④ Make sure to apply the mixture on a freshly cleanse face. However, this is optional; you may steam your face before this. The advantage of face steaming is, though it may not entirely open your pores, it can help reduce the appearance by softening up the trapped sebum or dead skin cells.

⑤ Once you’ve apply the mixture on, wait until it hardens ( I ended up waiting for about 10-15 minutes).
⑥ After rinsing off, apply your favorite toner, I normally use my ACV toner (find instructions here) to help tighten up your pores.
Extra Tips :
This technique can be useful for immediate removal of blackheads, but usage of this mask must be implemented with a proper skincare regimen regularly to prevent the blackheads from coming into sight again.
Result :
I can swear that this could be the best blackhead remover and the fact that I can make a way less expensive version that works just as well and covers more, I can see myself going the DIY route far more often.
Do not wait; the time will never be ‘just right.’ Start where you stand, and work with whatever tools you may have at your command, and better tools will be found as you go along.