
How do you know which ones really work with so many creams on the market? Not only this DIY Wrinkle Cream helps with my wrinkles but it’s lightening up my age spots as well.
A DIY wrinkle cream may be in the near future for the modern woman. I say this because I cannot help but think about how my skin will age someday. Thinking back to when I was a teenager and a young adult, I truly wish I had been more prudent in caring for my skin.

All those years under the sun without UV protection, not using an umbrella or a hat at all, not moisturizing every day, eating and drinking junk, and partying all night.
What can I say? I was busy having a great time. I never really had the sense to take good care of my body and my skin.
As we get older, our body produces less collagen, resulting in the emergence of fine lines and wrinkles. This aging process speeds up because of the damage we have done to our skin for years. Smoke, harmful chemicals, and sun damage.
Believe it or not, some of us still have a chance of warding off those lines with homemade face cream for wrinkles. This simple homemade product can definitely delay the aging process and even reverse some of the skin damage.
This organic homemade wrinkle treatment cream has your back when it comes to benefits. It is far less expensive than those commercial wrinkle creams you can buy at any beauty store. More than that, it is gentler and more effective.

Why Should you Make This Cream?
With the convenience of just entering a beauty and health store to choose a wrinkle cream, pay for it, and go home to use it, why would I make my own?
The deal is…
-
- The majority of the commercial wrinkle creams available out there have hazardous chemicals in minute amounts. They may just be in small amounts, but applying them to your skin every day can bring about more wrinkles than eliminate them.
Once you make your own skincare creams, you don’t add drying or harsh chemicals to them, so you are sure to have softer skin immediately.
-
- Wrinkles and fine lines aren’t the only signs of aging skin. When the skin under your eyes starts to appear saggy, puffy, and darker, and if your pores start getting larger, that is when you know your skin is not youthful anymore.
An effective key to maintaining wrinkle-free and youthful skin is to keep yourself hydrated. Always drink a lot of water so you can moisturize your skin from the inside. You can then apply hydrating wrinkle creams to moisturize your skin from the outside.
- This homemade moisturizer has natural antioxidants that revitalize your skin and protect your skin from free radicals and harmful UV rays. Plus, they also lighten the dark circles under your eyes.

Important tips
Just to clear the air, I use this DIY wrinkle cream as an effective overnight skin treatment. It has citrus essential oils that work best if they are not used in sunlight.
If you decide to use this cream as a day cream, substitute non-citrus oil alternatives.
Make this cream for your own use, but I don’t see why you can’t make it as a gift for family and friends.
Be certain to use a digital scale when measuring your ingredients. Accuracy is vital when working with wax and oils.
Take note: This recipe has oils and water, so it is best if you mix in 1% preservative, which will make the cream last for a year. If you don’t use a preservative, it will only last for about 3 weeks.
You don’t need a preservative at all, especially if you want to try other recipes. Just create an oil-based moisturizer that can last a year, depending on the type of oil you wish to use.
Before we dive into the ingredients you’ll need, let me explain why this homemade anti-aging cream will be so effective to use on your skin. Here are the descriptions of the components in this DIY cream:
Why these Ingredients
After applying them, it’s a common issue in creams to have a certain amount of greasiness. You don’t have to worry about that in this wrinkle cream. The oils I used in this recipe have been carefully picked to facilitate complete and quick absorption.
Avocado Oil
Avocado oil is ideal for any type of skin. It is widely known for its reconditioning, softening, and soothing properties. It is a great carrier oil that works amazingly in any skincare cream.

Argan Oil
Argan oil is optimal for maturing and dry skin. Packed with vitamin E, this oil helps the skin become supple and protects the skin from free radicals.
Hibiscus Infused
Hibiscus is one of the most potent anti-aging botanical ingredients. Known as the “Botox” plant. This flower has a reputation for enhancing the skin’s elasticity and making it look stunning and youthful.
Hibiscus has the amazing ability to impede the activity of elastase, which is an enzyme responsible for degrading elastin. It delays the process of aging by lifting and firming your skin.
Hibiscus infusion bestows a soothing effect on this DIY wrinkle cream. It is indispensable in treating your skin’s flakiness or dryness. You can read my post here about 11 beauty benefits of hibiscus for the skin.
Jojoba Oil
Jojoba oil imitates the sebum that your skin produces naturally. It is an effective skin conditioner, especially for anyone with irritated and dry skin. This oil locks in moisture, which is the top reason for using it during the last step of your daily skincare regimen.

Frankincense Essential Oil
Frankincense oil helps retard the development of wrinkles. This may even reduce the wrinkles your skin has already.

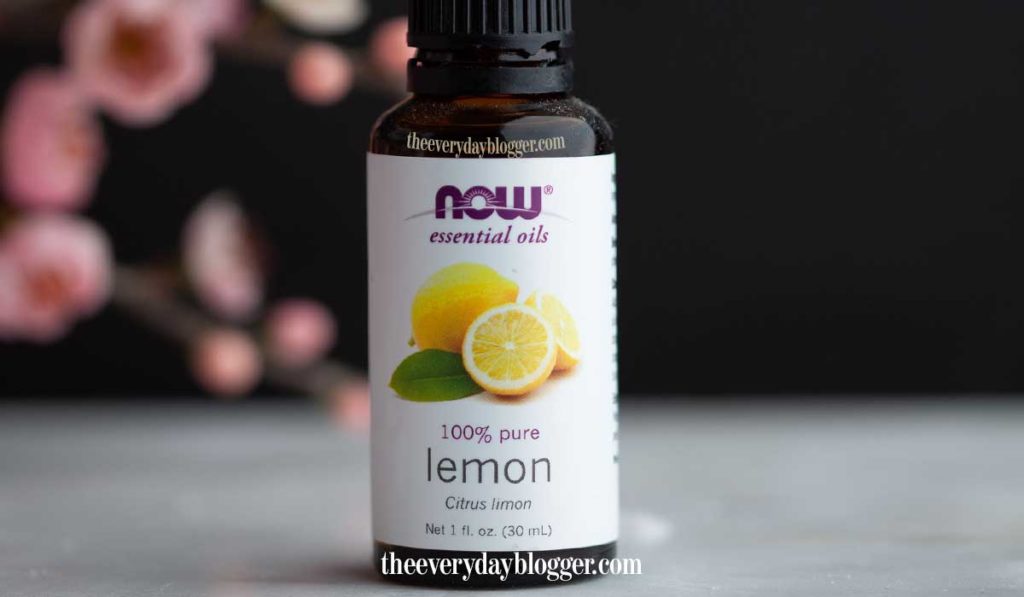
Lemon Essential Oil
Lemon oil helps improve circulation, eliminate wrinkles, and clear up the skin. Lemon itself can brighten skin and can bleach age spots, evening your skin tone. Your skin ends up feeling and looking younger.
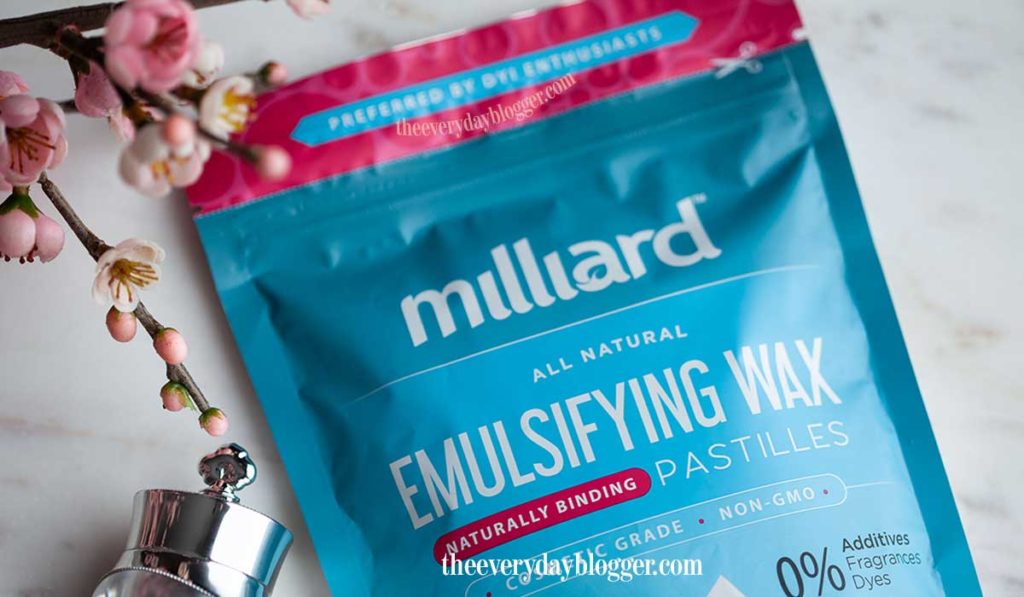
Emulsifying Wax
“Emulsifying wax assists in improving the consistency and texture of final products without leaving a greasy film on the outer skin after application. It acts as a mild stabilizer and thickener, which ultimately depends on the amount added to your recipe,” according to mountainroseherbs.
Oil Substitutes
“Evening Primrose oil and Wheat Germ are two more fantastic skincare oils: Peach Kernel and Sweet Almond oil. I would be happy to substitute the Argan and or Avocado for any of these four, although the latter two will make the cream take a little longer to absorb.”
The skin is your first line of defense and your largest organ as well. It deserves to be well-cared for, especially as you age.
Since your skin’s collagen supply decreases as you get older, it is bound to develop wrinkles if it’s not treated properly.
With this DIY wrinkle cream, you can achieve a more youthful skin without worrying about harsh chemicals irritating your skin or aggravating your wrinkle situation.
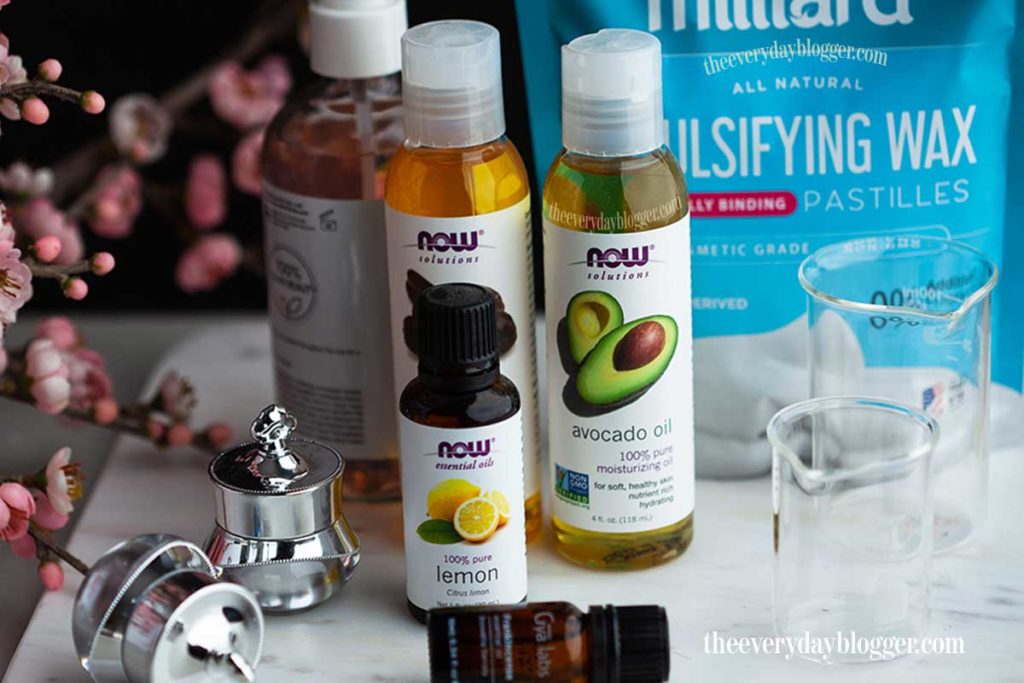
Ingredients:
- 15g Avocado oil
- 10g Argan oil (or jojoba oil)
- 15g Emulsifying wax NF (helps water & oil from separating)
- 60 g herbal infusion ( dried hibiscus flowers or hibiscus tea )
- 1g Preservative (optional)
- 15 drops of Frankincense essential oil
- 10 drops of Lemon essential oil
- Cosmetic Jar
Take Note: This recipe has oils and water, so it is best if you mix in 1% preservative, which will make the cream last for a year. If you don’t use a preservative, it will only last for about 3 weeks.
Step by step instructions
① Grab 3-4 pcs of Hibiscus dried flower or a hibiscus tea and pour 1 cup of boiling water to make a herbal infusion. Once it’s ready, strain the liquid to get off the flowers.
A “herbal infusion” is made by placing the flowers into a container and pouring boiling water over them. Let them sit for a while covered to cool down.
Note: Hibiscus infused water turned this homemade anti-aging cream color into a light pink since I only used 3 or 4 pcs of dried Hibiscus flowers.
These dried flowers yield a strong color. Therefore, adjust the amount to get your desired color. Add less if you wish for a lighter pink color, or add more to get a darker color cream.
② Weigh out your oils and emulsifying wax into one of the heat-proof containers and then pour 60 grams of the herbal-infused water into the second heat-proof container.
Note: Make sure that all containers and utensils that will touch your lotion are disinfected with rubbing alcohol. A spray bottle of alcohol is convenient, but a soaked rag will do the trick.
③ Place the 2 heat-proof containers into a water bath (bain-marie). Let the oils melt, and the herbal infusion get warmed (don’t allow them to boil). Once everything is melted and warmed, remove both containers from heat.
④ Now combine the water and the oils. Mix steadily using a whisk (keep it down to prevent air bubbles) or use a hand or immersion blender to mix thoroughly.
If you’re using one (Just make sure to double-check the product instructions).
⑤ Once the DIY cream has reached room temperature, this is the time to add essential oils and give it another good stir after adding each oil. To stop the water and oil from separating, you need to keep stirring until the mixture has completely cooled down.
⑥ Transfer the cream into a sterilized jar or a glass container to ensure the essential oils are well preserved. Keep the container/jar in a cool, dark place.
How to use:
Apply a thin layer of this cream to a freshly cleansed face. Use it in crows feet, laugh lines, and forehead creases! Do this routine every day. You should see results after a few weeks.