
I am not sure if you’re familiar with this mask, but GlamGlow Face Mask was originally designed for people in the entertainment industry. It was created to be a “facial in a jar” that only took ten minutes.

Jump to:
I remember the time when my Instagram feed was pelted by images of girls in black mud pack, widely beaming with tiny black dots along their nose and forehead in plain view.
My whole life as a commoner who endures large pores, oily skin, and nose that generally swerve into blackhead region, eagerly need to know what fascinating mask are these girls wearing?
This lingering question mattered densely on my head. Sadly, life happened and never have gotten the opportunity to apply my face with the popular Glamglow supermud pack.
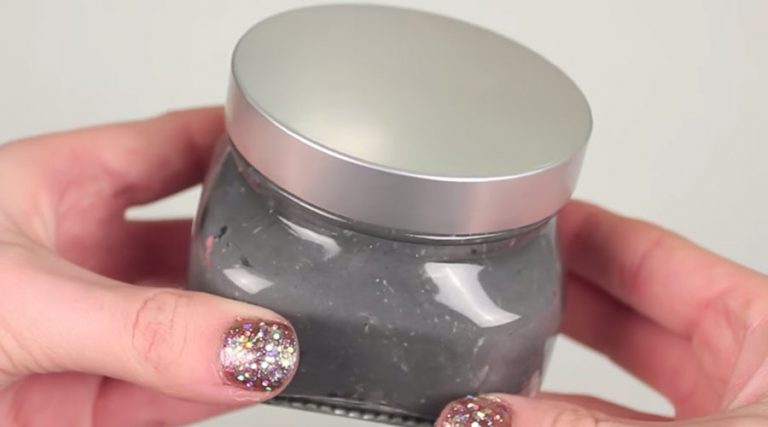
DIY SuperMud
Now you can make it yourself at home with inexpensive, easy-to-find ingredients and best of all, you can make it fresh each time you use it, so there are not any preservatives you might find in the “jar for the stars.”
For less than half the price of a small jar of the original, you can get enough ingredients to make facials for months. You’ll be making enough to last a short time, so there’s no need for harsh preservatives that irritate your face.
Some of the ingredients are already in your cupboards, such as coconut oil or chamomile tea. Others you may have to purchase, such as aloe vera gel or Bentonite clay.
Luckily, those are very inexpensive. Not only does this recipe create the same results, but it’s also far less irritating for your skin since it omits the preservative ingredients that can cause skin problems.
Benefits of the ingredients
Bentonite Clay – The Bentonite clay not only helps draw toxins out of the skin, but it also tightens the skin and removes the built-up dead cells that make pores look larger.
Activated Charcoal – Charcoal also works in the same way. Chamomile tea moisturizes, exfoliates, soothes and lightens skin. It also has antioxidant benefits to help fight off the free radicals that can cause aging. Peppermint essential oil refreshes the skin, tones and brightens.
Eucalyptus oil contains antioxidant, anti-inflammatory, antibacterial and astringent properties. When you put all these ingredients together, you have a power packed facial that will make you look years younger at a fraction of the cost of the original.
The coconut oil in the mask not only moisturizes but also provides the skin with antioxidants that help keep aging at bay. It also softens the skin.

Ingredients
- 2 tbsp coconut oil
- 1/4 cup Bentonite Clay (Aztec Secret) from Amazon.com
- 8 capsules Activated Charcoal (can be found at amazon or any store vitamin section)
- 1 tbsp Aloe vera gel
- 4 oz Chamomile tea (seeped strong)
- 3 drops peppermint essential oil
- 2 drops eucalyptus essential oil
Optional Boost
- 1/2 tsp Glycolic acid serum (or 2 drops lemon essential oil) – this helps to eliminate dead skin cell buildups, improve skin hydration, lighten discoloration and helps eliminate blackhead buildups.
- 1/2 tsp Salicylic acid serum (or 2 drops tea tree essential oil) – this helps clear and refine pores hence reduce acne.
You can buy these 2 ingredients on Amazon.com
Step by step instructions
- Seep 1 chamomile tea bag in about 4 oz of hot water and let it sit.
- Melt coconut oil into liquid using a double broiler or bain-marie.
- Combine all of the ingredients in a bowl, except the tea and mix all together.
- Cut the activated charcoal capsules in half and dump the powder into the bowl.
- At this point, you can add any of the optional boosts as well. Slowly begin to add the cooled tea and continue to whisk until you get the correct creamy texture.
- Spoon mixture into a glass container and let it sit in the fridge for about an hour.

Application:
Using an old brush (or your clean hands), apply the mask on your face. Let it sit for 15 minutes and wash it off with tepid water. Apply moisturizer as usual.
TIP: You can store the the mud pack in a cool dark place or put in the fridge if you don’t plan on using it within 1 month or if the temperature in your house is fairly warm.
I need to see my own beauty and to continue to be reminded that I am enough, that I am worthy of love without effort, that I am beautiful, that the texture of my hair and that the shape of my curves, the size of my lips, the color of my skin, and the feelings that I have are all worthy and okay.~ Tracee Ellis Ross
Related Reads:
- Natural Moisturizing Face Cream
- How to Get a Slimmer Face Massage
- Skin Tightening & Firming Mask
- How to Make Skin Less Oily
Watch the Video
Credit: ItsKate