
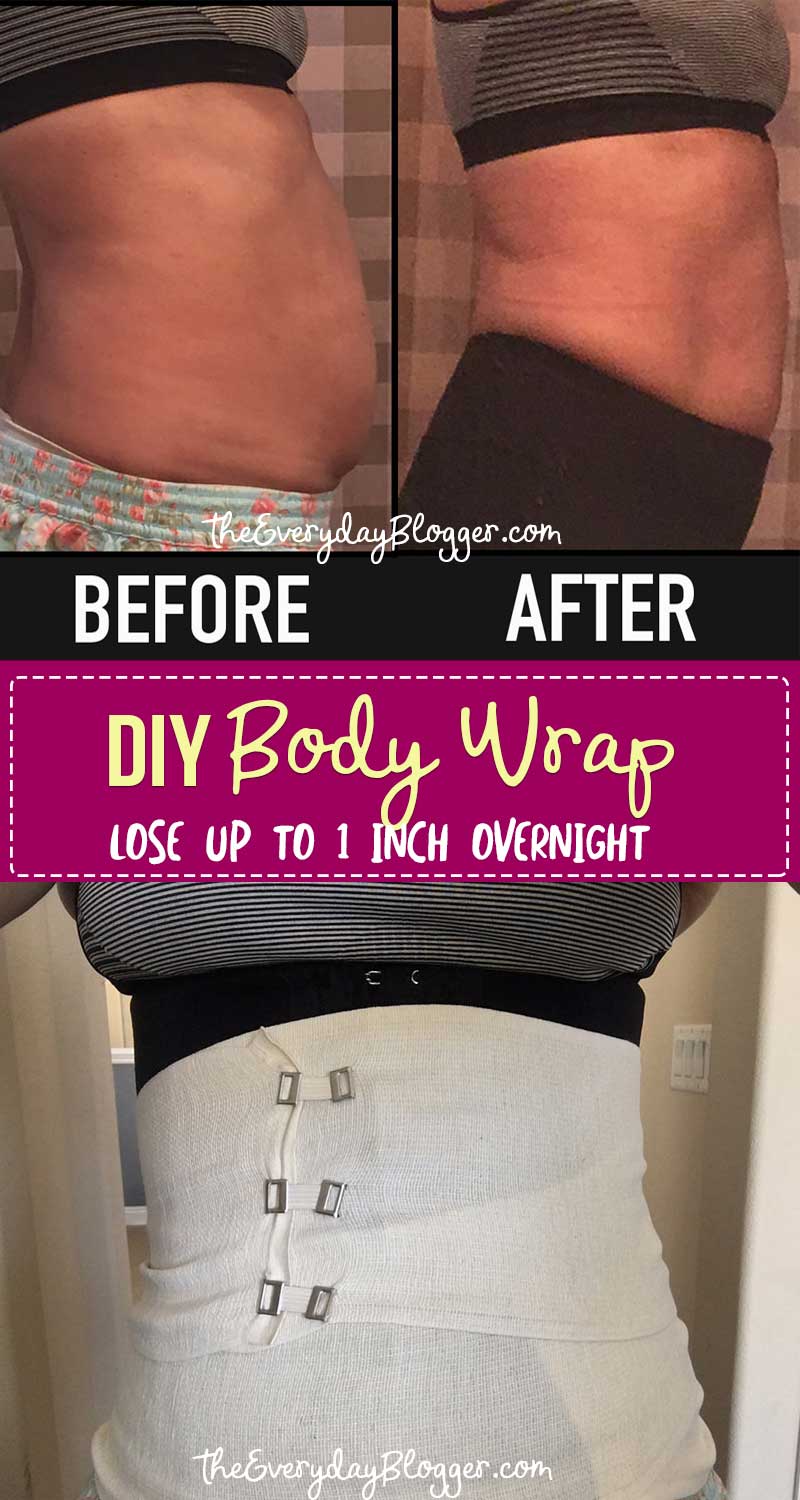
Want a firmer skin and a slimmer body? I am a big body wrap fan, and this ginger wrap ranks among my all-time favorites. It uses the slimming power of an amazing superfood. Making your own body wraps is actually super simple once you have all the ingredients.
Ginger has long been recognized as one of the most incredible health and beauty products. I love cooking with it, and I love using it in the creation of beauty treatments.
Benefits Of Ginger For Weight Loss
Eating ginger speeds up your metabolism and promotes faster weight loss. This is why I decided to try its topical application and see whether a ginger body wrap would deliver the same amazing effects like drinking ginger tea, for example.
It is the compression and the body heat generated from the wrap that does most of the work. So it is okay to be a little creative.
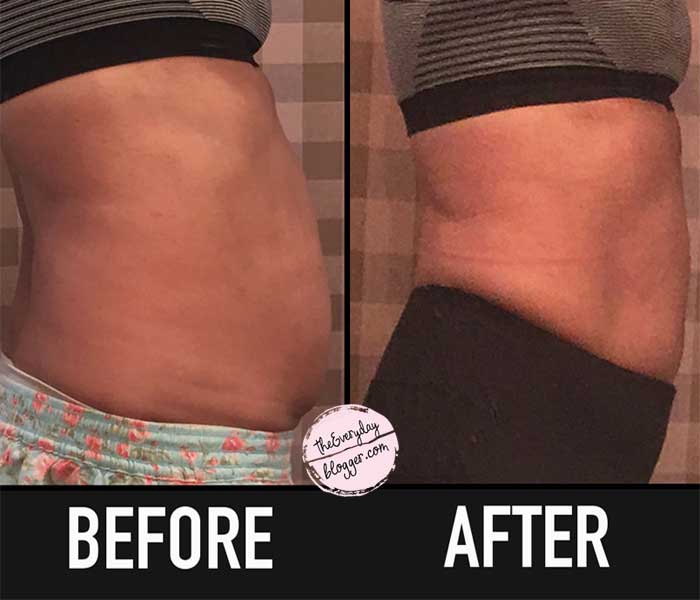
What To Expect on DIY weight loss wrap?
Immediately after wrapping my mid-section, I started feeling the warming effect of ginger. The sensation is really relaxing and the slimming effect gets notice immediately after the DIY body wrap is removed.
I kept it on for about four hours and I continued feeling the warmth for 30 more minutes.Because of its warming effect, ginger decreases the amounts of fat stored right under the skin.When blended with a range of essential oils and massaged into the skin, a ginger treatment can deliver even better results. Apart from having weekly body wraps, you can massage ginger oil in the problem spot before going to bed. You will soon start seeing a difference.
Keep in mind that fat loss results will vary from person to person. The inches you lose will depend on your own metabolism, your level of activity and your diet.
Still, you can try the ginger wrap because it is very inexpensive and very easy to make. You will see some skin firming and fat loss, especially if you are consistent. Adding ginger to your diet will enhance the results even further.
Take Note
Let me remind you that this DIY body wrap is TEMPORARY and in no way should be substituted for a healthy diet and exercise. This is a great (and temporary) quick fix if you want to lose some inches quickly to slip into that little black dress or bathing suit.
1st Option DIY Body Wrap:
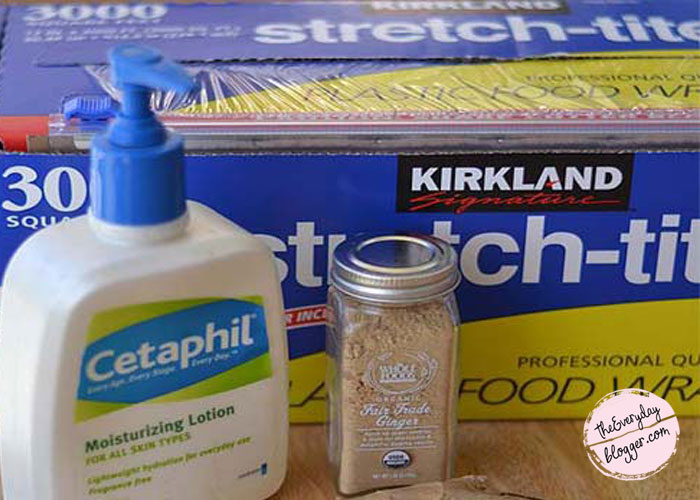
Ingredients You Need:
- 1 tbsp ground ginger (or fresh ginger paste)
- your favorite lotion (2 or 3 tbsp to make a paste) or coconut oil
- saran or cling wrap
- 2-3″ Ace bandage with clips
- electric heating pad (optional)
Step by step instructions
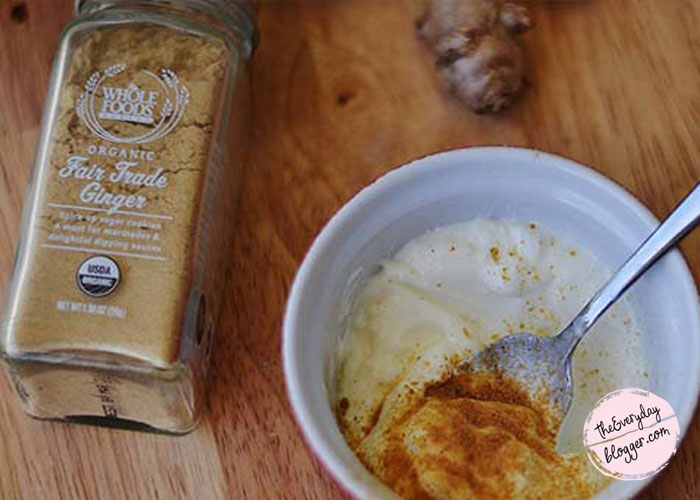
① You will need 1 tablespoon of ground ginger and a couple tbsp of your favorite body lotion. You can use any lotion (whatever is available) or a firming lotion.
② Also you can use fresh ginger if you have a way to turn it into a paste, like with a food processor. Fresh ginger would probably work better, but I used ground ginger because it was easier to mix. Here is what it should look like.
Don’t Skip This Step.
Take a hand towel and wet it down with water as hot as you can stand it. Wring out the excess water then place it on the area you want to wrap for a few minutes until it cools.
This opens up the pores, making the DIY body wrap twice as effective. Believe me, it is more than worth the few extra minutes.
NOTE : You can skip this process if you’ll be using a heat pad.
③ Apply a thick layer of mixture over the skin on the area you wish to reduce. Do not rub in. Wrap area with several layers of clear plastic cling wrap.
And then, wrap over with Ace Bandage wrap (or another saran wrap), starting from the bottom and working your way up (** this is optional but recommended).
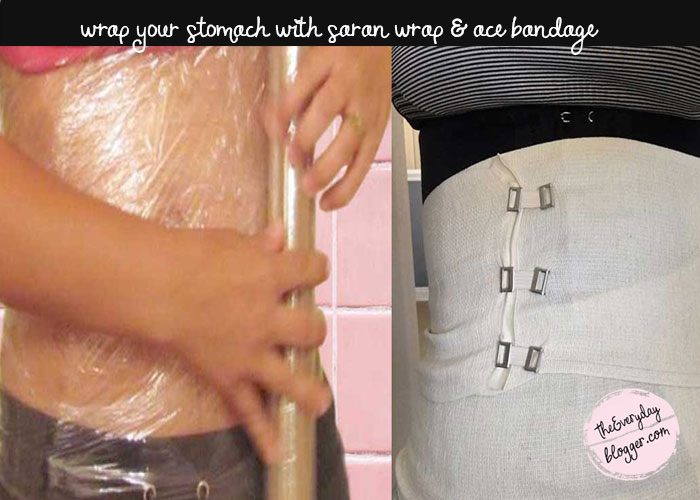
④ Do not wrap too tightly or you will be uncomfortable. The goal is for it to be just tight enough to stay on. Any tighter than that and it will feel like a corset, and you won’t be able to keep it on long enough to get results.
⑤ Lay down and place the heating padon top of your tummy and relax. You don’t want to do too much bending or moving.
Note: If you’re not using a heat pad, you can get up and walk around if you need to. You are not confined to your bed or chair but take it easy.
⑥ Watch a movie or read a book. This is your spa day so no housework until your ginger wrap is over. You want to leave it on for 4 to 6 hours. I left mine on for 4 hours and I can see the result (I lost almost 2 inches from my waist).
DIY weight loss wrap :
2nd Option DIY Body Wrap:
Ingredients
- Sea Salt or Epsom Salt
- Coconut Oil
- Green Tea Bags (Caffeinated)
- Cacao powder
- Essential oil of your choice
- Cling wrap or plastic wrap
- Ace Bandage with clips
- Electric heating pad or microwaved rice sock
Step by step directions:
① Combine 2 tablespoons of coconut oil, 1/4 cup sea or Epsom salt, 5 drops of your favorite essential oil. Cut open the green tea bags and add them to mixture & add 1 tbsp cacao powder. Mix all together to form a thick paste.
② Spread the mixture on the affected area and rub it on with an exfoliating glove if available.
Note:
Coconut oil is going to melt and run down your legs so make sure you have a towel handy. Just bear with the uncomfortable feeling but once you’re wrapped snugly, it won’t be as bad.

③ Next, take the plastic wrap and begin at your pubic line area wrapping the plastic snugly around your abdomen (about 5 or 6 wraps should do the trick).
Now wrap your abdomen using the same process with the Ace bandages and secure it snugly (It took me 2 Ace bandages) but not to the point where you feel you can’t breathe. Put on an old t-shirt and pair of comfortable exercise pants or robe.
④ Lay down or sit comfortably in a reclining chair. Turn on your heating pad or microwaved rice sock (homemade heating pad) and place over your abdomen. Note: Don’t put the heating pad directly on bare skin, as this could cause serious burns.
Drink at least 8 oz of water to hydrate yourself. Make the experience as relaxing as possible. Dim the lights, listen to soft music, read a book, or simply meditate.
⑤ Let your first DIY body wrap for at least 2.5 hours. For the 2nd to 4th wrap, doing it for one and a half hours is fine.
⑥ When it’s time to take everything off, give your skin another good exfoliation with exfoliating glove or your wet hands before taking a shower. After the shower, apply your favorite moisturizer or oil on the affected area.
The Theories Behind The Body Wraps
Detoxify Your Body
Detoxify your body of free radicals and harmful chemicals that we ingest or absorb through our skin. You can detoxify your body using Epsom salts, essential oils, green tea with caffeine to stimulate circulation.
The Epsom salts pull water from the body and cacao powder is rich with anti-oxidants. When pores are open up drawing out toxins, it also allows the absorption of anti-oxidants that help fight free radicals.
Exfoliate Your Skin
Exfoliation can help improve our skin by sloughing off dead skin cells and revealing younger skin below the surface.
Moisturize
Using coconut oil or lotion can actually add moisture to our skin and helps with the regeneration of skin cells while adding a heat source will intensify the moisturizing process by opening up pores to allow absorption.
Relaxation
Doing this DIY body wrap helps yourself feel relax. I normally read my favorite book or simply watch a movie to while I lay down with my heating pad. Some people stay active while they are in their wraps, but I prefer to sit still with my thoughts and sip my water.
Quick Cellulite And Weight Fix
You are losing water weight, so naturally you are going to weigh less. The appearance of cellulite is diminished giving the skin a more toned appearance. Both benefits are only temporary. It’s the compression and heat that bring the result.
Conclusion:
To be honest, my best result was initially after the second wrap. However, I used the remainder wrap sessions as maintenance wraps and I can see an overall difference with a more toned stomach. I did this to test if it works or not and for me, it worked.
If you decide to try this, I hope you see beneficial results as I did. Again, I encourage you to do your own research and perform the wraps responsibly and safely.
A lot of people have their big dreams and get knocked down and don’t have things go their way. And you never give up hope, and you really just hold on to it. Hard work and perseverance. You just keep getting up and getting up, and then you get that breakthrough.